As I eluded to in my last post, there is one project, or upgrade, that made the list along with the repairs, and it is something that I had wanted to do since before we built the hardtop. When Doug, my crew that came to help out with some of the repairs on the boat, came up with a system that wouldn't cost too much more than the fuel I anticipated we would use with the generator on the trip (at Bahamas prices), I decided it was a worthwhile investment. I'm, of course, talking about adding solar power to the boat.
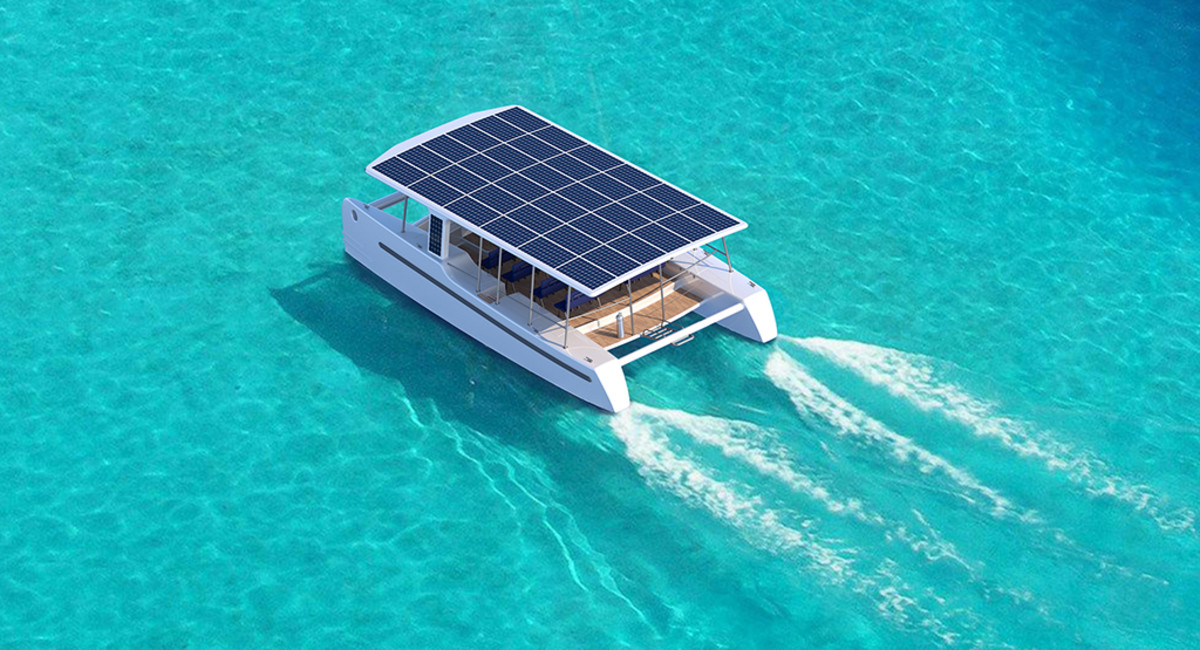 |
| No, this is not my boat. |
When I was designing the hardtop, I intentionally moved the sail viewing window forward just a bit in order to allow for the larger size panels you often see in residential applications as well as building in wire chases that could be used for solar. At the time, getting panels for around $1 per watt was a very good deal. Now the power output has increased and prices have fallen and you can get 320 watt panels that should put up with the marine environment for under $0.60 a watt. He also found a MPPT solar controller that was getting pretty good reviews for $150. A couple lengths of 6 gauge wire from the controller to the batteries, the special 10 gauge wire for hooking up the panels, a couple breakers, a wire gland for sealing the wire chase hole in the hardtop, a special tool for installing weatherproof MC4 connectors on the wires, and a couple other odds and ends for installation and I'd get "free" power from the sun. Since Doug would be passing nearby the solar panel supplier on his way to the boat, it would also save me the (not insignificant) shipping cost for the panels. The whole system would end up costing me around that magic $1/watt number that used to be reserved for just the panels.
The first step in the process, after getting all the materials to the boat, was to drill new holes in my beautiful hardtop. Having worked so hard on that top, I had mixed emotions about drilling 5 holes for each panel in it...but if I wanted solar it had to be done. We brought one of the panels to the boat, attached the mounting brackets to it, and marked the four mounting hole locations for each panel. We carefully determined where the middle of the wire chase was on the underside of the top and marked the larger hole for the wire chases. Using my drill guide, I drilled oversized holes until we reached the bottom fiberglass skin, cleaned them out, filled them with epoxy (the top is foam cored, so I needed to create a sealed "sleeve" for the holes that would also act as a compression post to tighten bolts), and drilled the smaller final size hole at each location. It all sounds simple enough, but this is a boat project so we had to fight weather, wait for epoxy to cure, as well as other issues so making the holes ended up taking 3 or 4 days to complete.
 |
| Carefully locating the center of the wire chase. |
While waiting to complete the holes in the hardtop and get the panels mounted, we installed the solar controller, breaker, and wiring from the controller to the battery bank. The solar controller and breaker were mounted in the engine room next to the original battery charger for the boat. The wiring was run from the large main bus bars below the main electrical panel (think of a bus bar as the extension of the positive and negative posts of the battery bank), through the breaker, and on to the controller. The controller connection was another interesting problem to solve. Our calculations showed that we should use 6 gauge wire for the charger, but the charger terminals would fit at most a 9 gauge wire (remember the larger the gauge number, the smaller the wire). Since the controller is rated for 60 amps, it has two connectors for each of the positive and negative battery outputs and the instructions said to run two wires to the battery...probably done to save in production costs of the charger. Well, I didn't want to double up wires. It turns out if you take a 6 gauge wire, strip off the cover, divide the wire strands in half, and re-twist them into two conductors you end up with two 9 gauge wires. So, that is exactly what we did to the end of the 6 gauge wire cable. Marine grade wire cables use thin diameter strands of wire for the conductor (for added flexibility) so it was a fairly easy process. Seal it all up with quality adhesive lined heat shrink tubing and viola, a custom single cable that hooks up to the controller. A few zip ties and zip tie mounts and the cables were installed.
 |
| Drilling and filling holes in the hardtop. |
Once all the holes in the hardtop were ready, we mounted the solar panels and sealed the top sides of those holes with butyl tape. We then used an electricians fish tape to pull wires from each of the solar panels through the unsecured gland boxes, the chases in the hardtop, and to the access panel in the top corner of the targa (arch at the rear of the boat). There we used two Y adapters to connect the solar panels in parallel and ran the resulting single set of wire down the rest of the arch, into the engine room and over to the controller.
 |
| Making the custom connection wires. |
After wiring the controller up, were now ready for a test. Of course, we were ready at about 5pm and the sun was a short time away from setting, so this wouldn't be a real test of power generation, but it would be enough to verify everything is hooked up and working. We flipped the breaker on the battery connection and the controller came to life and recognized it was connected to a 12 volt battery bank. A few parameters were set in the controller and then the solar panels were connected. We have power generation! It was only about 150 watts coming from the panels and a couple amps going into the batteries (I don't recall the exact numbers), but it was proof that the system works.
 |
| Solar controller mounted next to the original charger. |
The next day we did a second test. It was fairly sunny and right around noon and....wait a minute. It was only showing 150 watts from the panels and under 10 amps going into the batteries. Oh yeah, need to turn off the regular charger and drain the batteries a bit...it was doing a constant voltage topping charge because my regular charger was taking care of the batteries while I'm plugged in at the dock. I used the inverter and a space heater to pull some energy out of the batteries and then tried again. That's more like it. Even with the boat sitting so that one panel tilts a bit north and the sun was at best about 45 degrees from overhead, we were seeing 460 watts coming from the panels and 31 amps (at proper charge voltages) going to the batteries. Yay!
 |
| Data from the Android App. |
I finished tidying up the wiring and checked the connections with my non-contact thermometer to make sure there wasn't any resistance causing heat build up. We then reinstalled all the access panels and I glued down the wiring glands on the top so it is again waterproof. The only thing left to do on the install is figure out some sort of skirting for the panels so lines don't accidentally get hung up under the panels.
 |
| Panels Installed except for line deflection skirting. |
In the days since the initial install, I have run a number of other tests and found that, as long as I'm not running electric heaters or air conditioners, the setup seems to keep the batteries charged. Of course the real test will be sitting at anchor when I have to use the inverter (or...shudder...the generator) for 120 volt AC service.
I also found a glitch in the solar controller. It was rarely going into its float charge state. I contacted their technical support (which only seems to be available via e-mail) and found that the charger has a hard coded value for the switch over point from topping charge to float charge and doesn't take into account the recommendations of most of the battery manufacturers or size of the battery bank. For most solar installs that have loads that take power most of the time, this isn't really an issue as charging time is limited by sunlight hours. The only time it comes into play is when the battery is fully charged and there isn't a load (like a boat in storage). I was informed that, at the price point of the charger, the manufacturer would not change the programming of the device to better align with the lead acid battery manufacturer recommendations. Fortunately there is an easy work-around by simply setting the controller to limit the charge voltage to the lower values used for float charging when the system isn't actively used. With the WiFi feature of this controller, it is easily done. Not the ideal solution, but good enough for my purpose.
Overall I'm happy with the result. One of the things I really hated was to have to start the generator in an otherwise peaceful anchorage in order to recharge batteries. With this addition, I hope I won't have to do that very often. Not having to burn fossil fuels in order to produce energy is also a good feeling.


